
Schoology Student/Parent Guide - iPad/Android App Version
Getting Started (This document works best in a digital format. Some images are video clips and
a YouTube is below. CLICK HERE to access the Schoology Support page
YouTube Directions
Table of Contents:
● Sign Up
● Log In
● Navigation
● Home
○ Recent Activity
○ Course Dashboard
○ Upcoming
● Messages
● Requests
● Notifications
● Your Profile
● Courses
● Groups
● Resources
● Grades
● Calendar
● People
● Account Settings
● Logout
● App Permissions
Sign Up
If you don’t already have an account on Schoology, you must sign up from a mobile browser at
www.schoology.com.
1. Tap Sign Up.
2. Select Student.
3. Enter the access code provided by your instructor and tap Continue.
4. Enter your First and Last Name, an email address or username, and a password for your
account.

5. Tap Register to complete.
Important Note: Enterprise schools may or may not allow students to register on their own.
Contact your teacher with any questions on this process.
Back to top
Log In
Once you have an account, download the Schoology app from the Apple App Store. Tap the app
icon to open it on your device.
Above, the Login screen on an iPhone X. Below, the Login screen on an iPad Pro.

Log in through your School (Enterprise)
Since many Enterprise schools have set up a custom login process, begin by selecting your school:

1. Use the keyboard to enter the name of your school or organization. As you type, matching
choices populate in the list. The name, ID number, city, state, and zip code for the school
should appear below.
2. Tap the name of your school or organization when it displays.
3. You can use an email address or username to log in to the application, depending on how
your account was set up.
4. Tap LOG IN to complete.
Notes:
● In general, it's best to contact your instructor for assistance logging into Schoology. If
your school has set up one set of login credentials to use across many apps, the school
can assist you with login or reset your password if needed. This same process applies
to schools using Google Single Sign-On.
● Single sign-on users will be directed to their school page after they choose their school
on the application. They can log in with their SSO credentials on their school page.
Schools using Google Single Sign-On must also tap Log in through your School on
the next login screen after choosing their school on the application to continue to the
SSO login page.
● If you are not included in the SSO method, choose Log in through
www.schoology.com as outlined below.
● If you sign in using an SSO and are using a shared device, be sure to log out of your
account on the mobile browser when you log out of Schoology. For example, if you use
a Google SSO, navigate to Google on a mobile browser and log out of your Google
account. Logging out of Schoology will not log you out of your Google account.
Log in through www.schoology.com
If you use the free version of Schoology or do not use school-provided login credentials, use this
workflow to log in to the iOS app.
1. Tap CONTINUE.
2. Enter your Email and Password.
Note: If you log in with a username, use the login method Log in through your School
outlined above.
3. Tap LOG IN to complete.
Note: If you log in with this method, you can reset your password by opening a mobile
browser to app.schoology.com and using the Forgot my password link.
Back to top

Navigation Menu
The Schoology iPhone app navigation menu allows you to quickly navigate to each essential
location on the Schoology App. Tapping the navigation menu in the top left corner of the screen
gives you immediate access to:
● Your profile (tap your name)
● Messages
● Notifications
● Requests
● Home
● Courses
● Groups
● Resources
● Grades
● Calendar
● People
● Account Settings
● Logout
This navigation menu is available on every page so that you can quickly navigate through the app
from any point.

Above, the navigation menu view on an iPhone X. Below, the navigation menu view on an iPad Pro.


Above, using the navigation menu to access Notifications and Courses on an iPad Pro.

Back to top
Home
Based on your Account Settings, either the Recent Activity area or the Course Dashboard is
displayed by default as the first screen you view when opening the Schoology iOS app. The Recent
Activity area displays all of the most recent updates and blog posts that populate your Schoology
home page. The Course Dashboard displays your courses in a tiled list.
You can switch between the two views by tapping the clock icon or the tile icon at the bottom of the
Home screen.

Above, using the Home screen to access Recent Activity, Course Dashboard and Upcoming
Calendar on an iPad Pro.

Back to top
Recent Activity
The Recent Activity displays all of the most recent updates and blog posts that populate your
Schoology home page. You can access Recent Activity by tapping the clock icon at the bottom of the
Home screen.
Refresh Feed
At any point, you can update the Recent Activity feed by swiping down on the Recent Activity screen
then releasing to refresh. To view additional posts, simply swipe upwards to scroll.
Create a New Post
Depending on permissions in place at your school, you may be able to post course, group, and
personal updates from the iOS app. To create a new post, follow these instructions:
1. Tap the + icon on the upper right corner of the screen.
2. Select Post.
3. Select a course, group or personal update from the Post to... field.
4. Once you have chosen the area(s) that you would like to update, use the back button in the
upper left to go back to the update screen.
5. Enter your update in the Write an update... field and tap Done in the upper right.
6. Add attachments from Library, Take Photo or Video, and Resources if you wish using the
Attach button on the bottom right.
7. Tap the Checkmark icon in the upper right to post your update.
Note: If you’d like to cancel your post, you may tap the X in the upper left. Please remember to
refresh the screen to see the latest information.
Comment on a Post
To add a comment on an update:
1. Tap Comment at the bottom of the post.
2. Type your comment.
3. Tap Post.
View and Add to Replies
To view existing replies to a post:
1. Tap the speech bubble below the post.
2. If you’d like to add a reply, tap the Comment... field.
3. Type your comment.
4. Tap Post.

Back to top
Course Dashboard
The Course Dashboard displays all your courses in a tiled list. You can access the Course
Dashboard by tapping the tiled icon at the bottom of the Home screen.
Above, the Home screen with the Course Dashboard view on an iPhone X. Below, the Home screen
with the Course Dashboard view on an iPad Pro.


Messages contain all received and sent mail in your Schoology account. You can access messages
by tapping Messages from the navigation menu. You can refresh, compose a new message, and
reply to existing messages directly from this sub-menu. If you see a red dot next to Messages in the
navigation menu that means you have a new message from other Schoology members.
You can also send a message within a course. Learn more here.
Note: Your school may or may not allow you to send messages in Schoology.
Above, the Messages view on an iPhone X. Below, the Messages view on an iPad Pro.
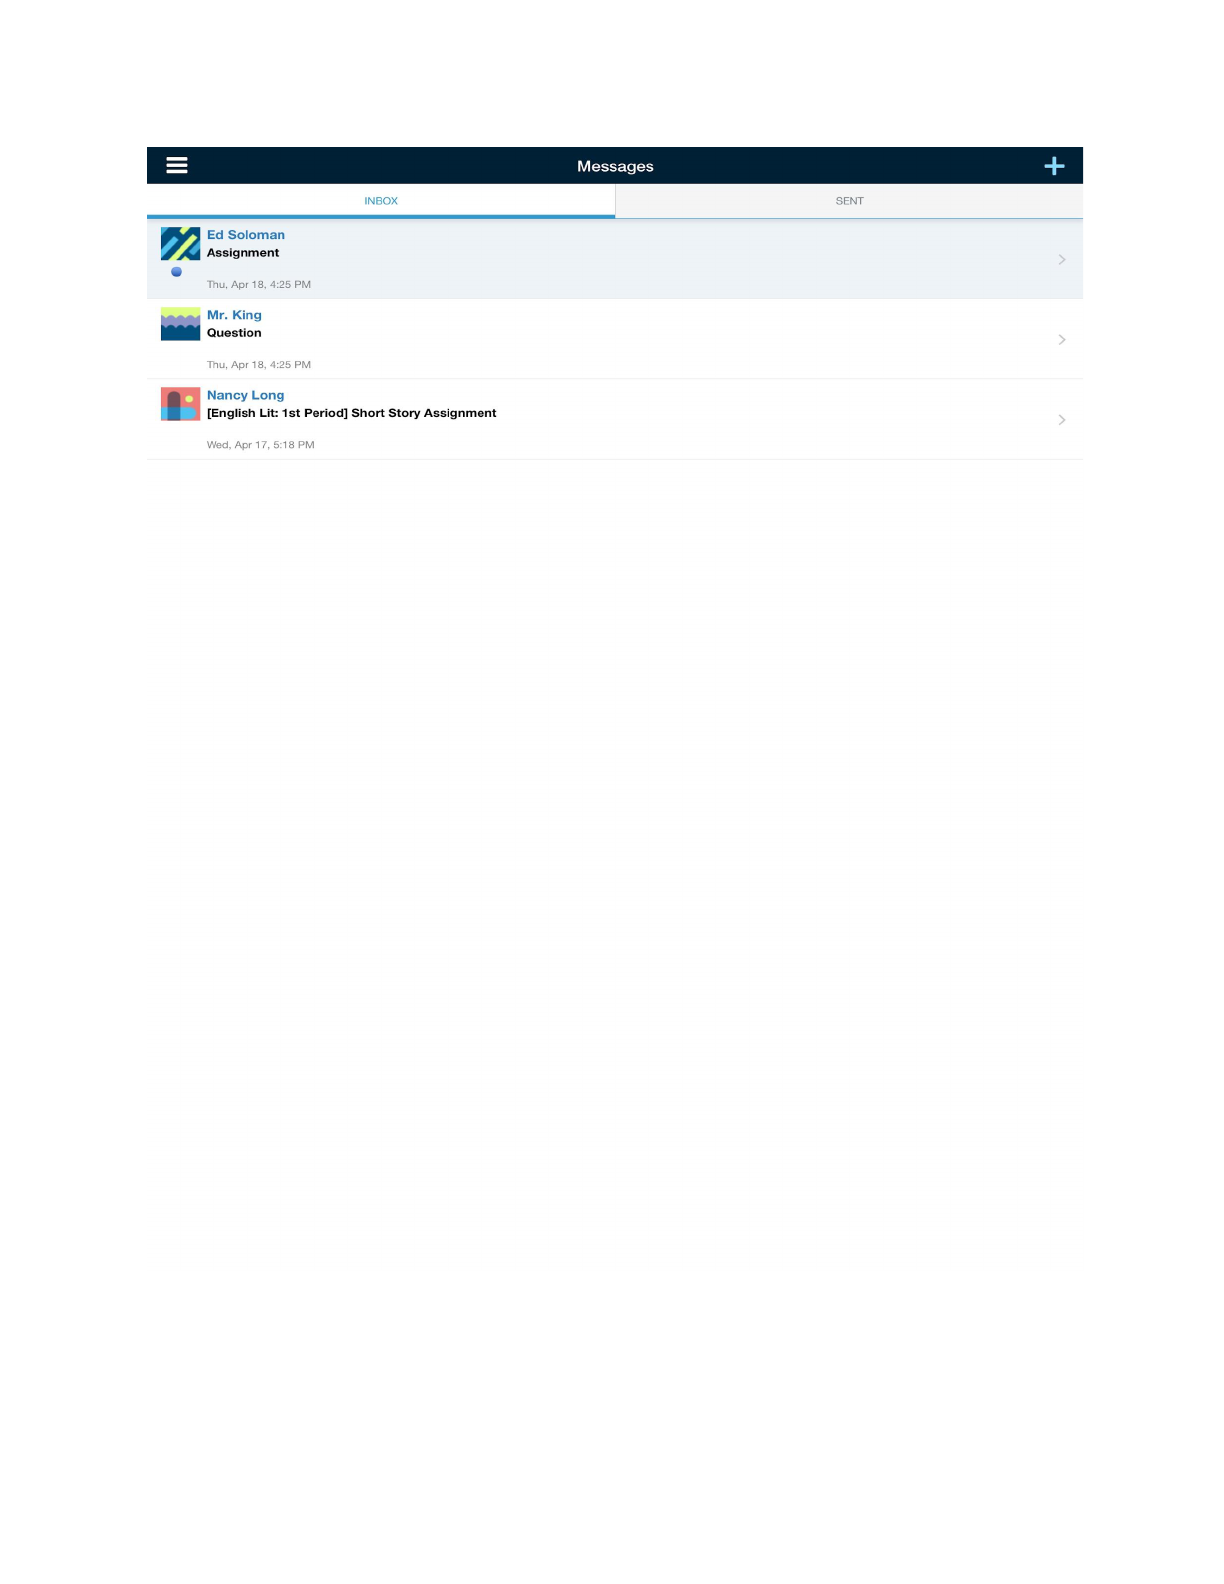
Inbox
The inbox displays the received messages by default. A blue dot indicates an unopened message.
To view the message, simply tap the message you would like to open.

Sent
To view sent messages, tap Sent from the Inbox screen, and tap the message you would like to
open.
Compose and Reply to Messages
To compose a message, tap the + icon on the upper right corner of the screen while in the Inbox or
Sent screen.
1. Begin typing a name in the To field. The field will auto-populate with users to whom you may
send mail. To select a user, simply tap their name from among the list.
2. Type the subject of the message.
3. Type the content of the message.
4. Tap the Checkmark icon on the upper right to send your message.
To reply to a message, open the message and tap the blue arrow icon on the upper right corner of
the screen.
Back to top
Notifications
The menu notifications display course and group events in chronological order to keep you informed
of Schoology activity. If you see a red dot next to Notifications in the navigation menu that means
you have a new notification.

Above, the menu notifications view on an iPhone X. Below, the menu notifications view on an iPad
Pro.

Email and Mobile Text Notifications
In addition to the menu notifications, Schoology sends you email and mobile text notifications for
Social, Academic, Group, and School activity that occurs in your account. In the Notifications area
under Account Settings, you can manage which activity generates email or mobile text notifications.

Note: Email and mobile text message notifications differ from the Notifications menu located in
the left navigation menu. The notifications listed under the navigation menu are not
customizable. They display information related to course and group events in chronological
order to alert you to Schoology activity. For more information on the notifications that appear in
the bell icon menu, see: What kind of notifications appear in the menu notifications?
Managing Email and Mobile Text Notifications
To change the email and mobile notifications that you receive:
1. Log into the Schoology app.
2. Select Account Settings from the navigation menu.
3. Tap the Notifications tab.
4. You can customize the notifications you receive by adjusting the various settings under the
Email and Mobile column.
5. Be sure to tap Save Changes at the bottom of the panel.
Push Notifications
You can choose to receive a push notification on your iOS device whenever an important piece of
content is added to a course or group. Here are some examples of the types of occurrences push
notifications would relay:
● Course update post
● Group comments on updates and discussions
● New assignment or discussion post
● Receive a private message
When a notification arrives, if the app is closed, then you may see a banner or alert display on your
screen. If the Schoology app is open, then the notification will be displayed on your screen. Tapping
the notification will take you to that piece of content within the Schoology iOS app.
Enabling Push Notifications
To enable notifications:
1. Make sure you've downloaded the latest version of the Schoology iOS app from the Apple
AppStore.
2. After installing the update and logging into the app, you will be prompted to enable
notifications.
3. Select OK, and you will be registered for notifications
Disabling Push Notifications
To disable notifications:
1. Go to your iOS Settings.

2. Select the Notifications option and then select the Schoology app.
3. From there, select disable Allow Notifications or select None for the Alert Styles.
4. You should stop receiving notifications immediately.
Re-Enabling Push Notifications
To re-enable notifications:
1. Go to your iOS Settings.
2. Select the Notifications option and then select the Schoology app.
3. From there, either select Allow Notifications or select the Alerts and Banner style.
4. As a final step, you may need to 'kill' the Schoology app from the background if it is there,
and then restart the app.
5. You will now start receiving notifications.
Back to top
Requests
The Requests area lists all of the course and group requests that are associated with your
Schoology profile. Tap Accept or Dismiss, depending on the action you would like to take for each
item. If you see a red dot next to the Requests icon in the navigation menu that means you have a
pending request.

Above, the Requests view on an iPhone X. Below, the Requests view on an iPad Pro.


Tap your name from the navigation menu to view your personal profile. These same areas also
display if you view the profile of another user in the app.
Updates
The Updates tab of your profile displays updates you've posted on your personal profile.
Info
Tap Info to view the info displayed on your user profile. To edit which info displays on your profile, go
to Privacy Settings from your Account Settings
Note: Depending on the settings in place at your school, you may or may not have access to
Privacy Settings.
Badges
Tap Badges at the bottom of your profile to view badges you've been awarded in Schoology.

Above, the Badges view on an iPhone X. Below, the Badges view on an iPad Pro.


Courses
The Courses area lists all of the courses for which you are a member. You can also join a course
from this area.
Join Courses
To join an existing Course:
1. Tap Courses from the navigation menu.
2. Tap the + icon on the upper right.
3. Enter the Course Access Code.
4. Tap Join.
Above, the Join Course view on an iPhone X. Below, the Join Course view on an iPad Pro
(landscape view).

The format of the course code should be XXXXX-XXXXX (10 digits). Once you join a course, you will
begin receiving updates, grades, comments, and material notifications from the course. To manage
which notifications you receive, see Notifications.
Note: Depending on the settings in place at your school, you may or may not have permission
to join Courses via Course Access Codes.
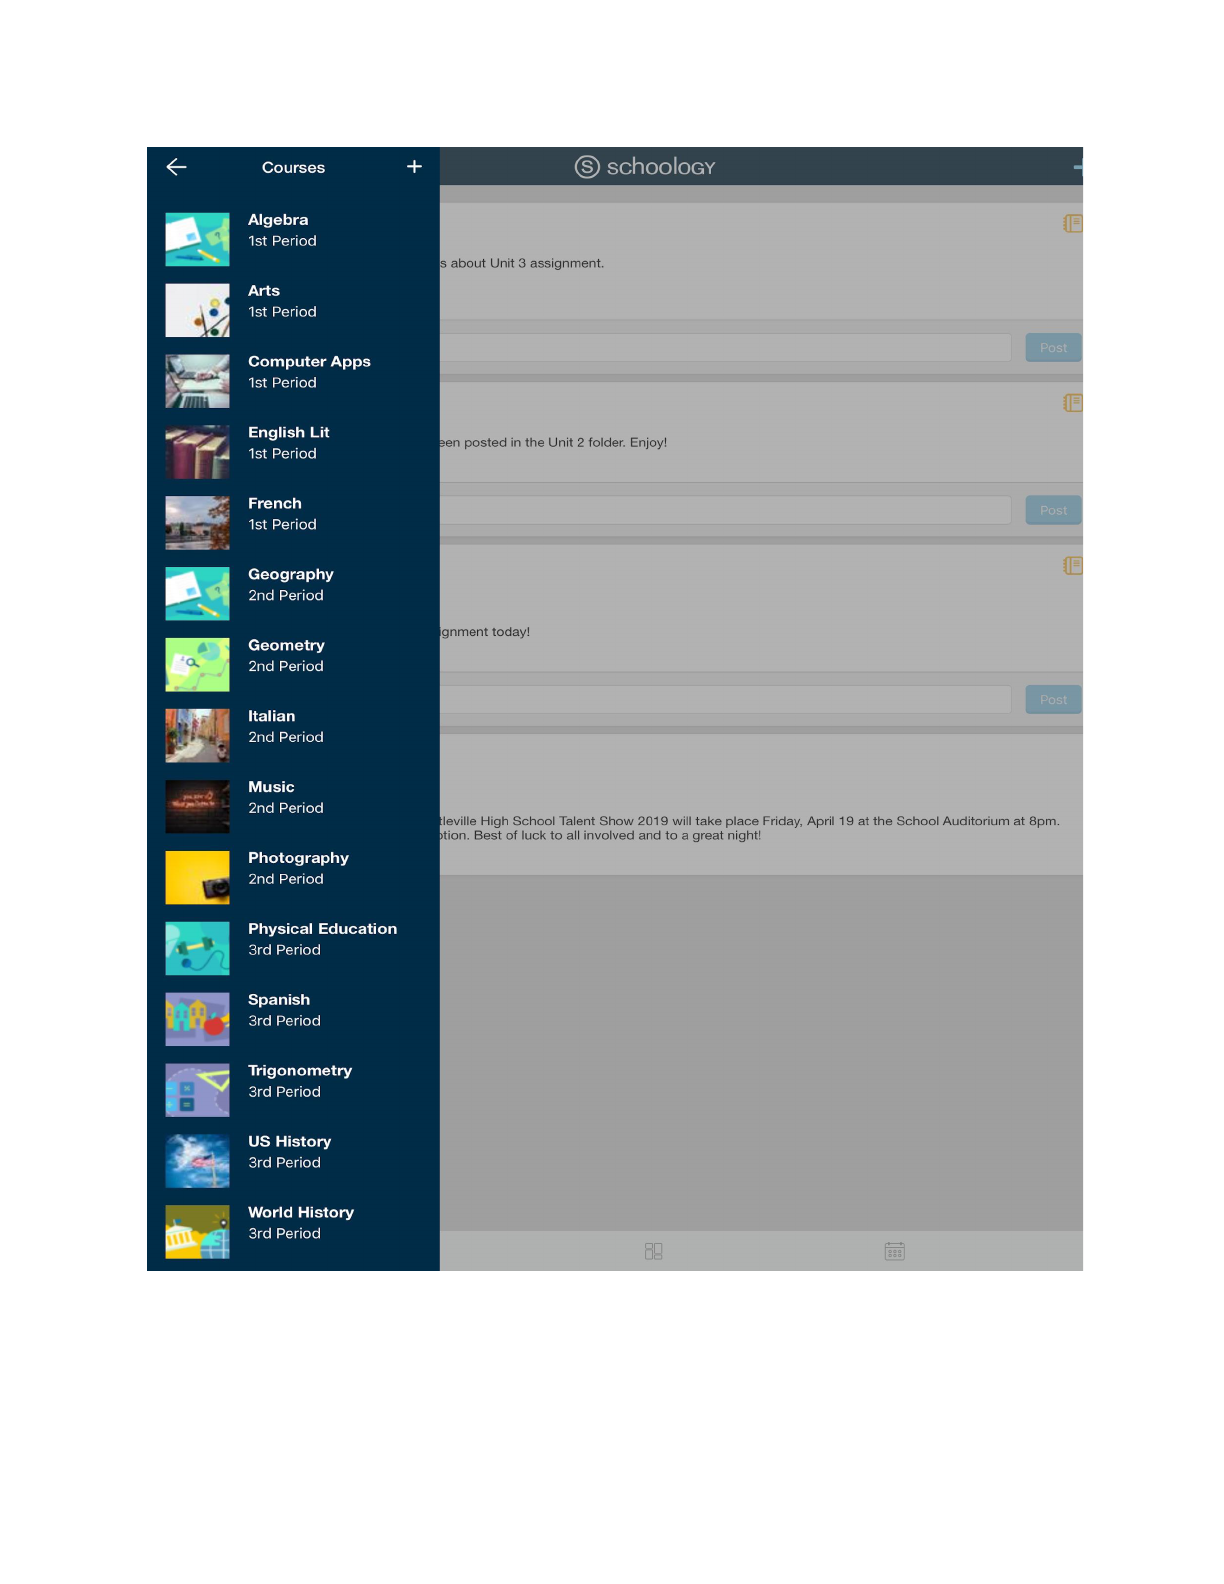
Tap Courses from the navigation menu to see a list of all of the courses for which you are a
member. To access a course section, tap the name of your choice.

Above, the Courses view from the navigation menu on an iPhone X. Below, the Courses view from
the navigation Menu on an iPad Pro.
Depending on the settings in place at your school, the following information is available under a
particular course section:
1. Materials (Assignments, Tests/Quizzes, Files/Links, Discussions, Albums, Pages)
2. Updates

3. Upcoming
4. Grades
5. Members
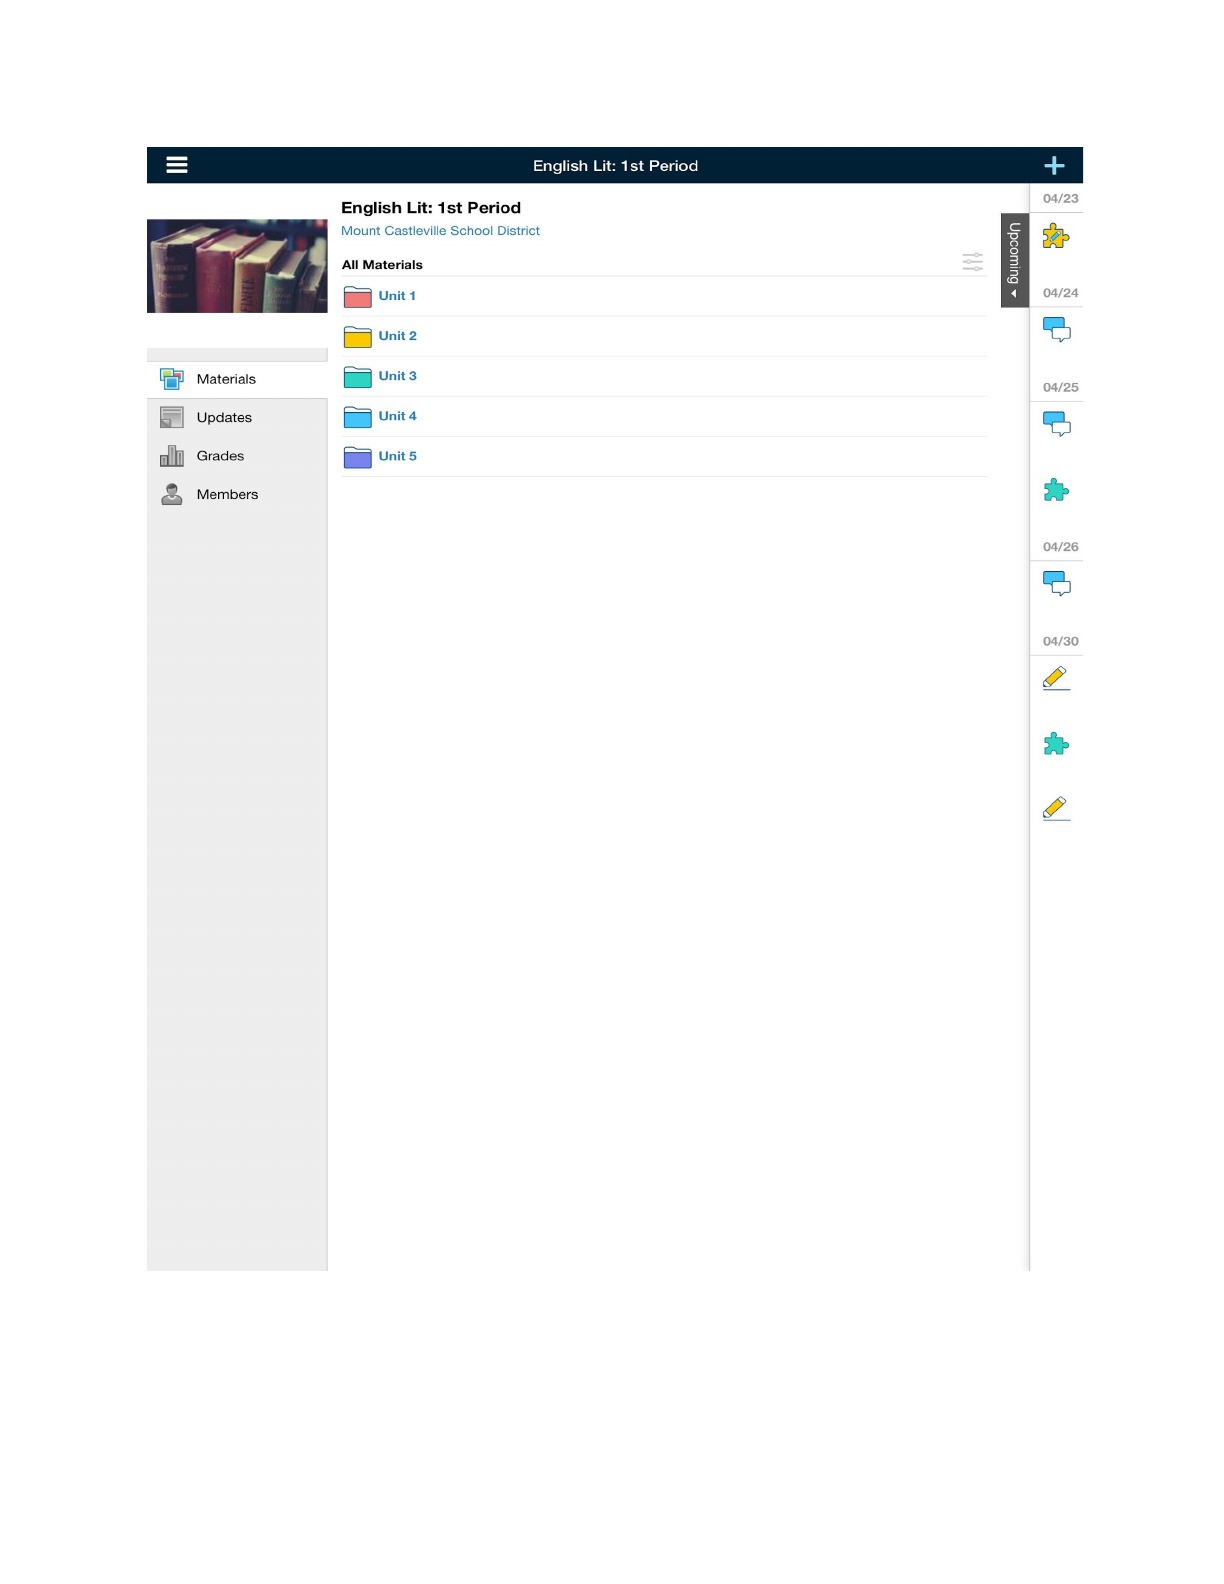
Materials
The Materials area lists all of the Assignments, Assessments, Tests/Quizzes, Files/Links,
Discussions, and Pages in a particular course. To view any of the materials just tap the name of the
item.
For information about reviewing and submitting assignments on the Schoology iOS app, see this
article.
Above, the Course Materials view on an iPhone X. Below, the Course Materials view on an iPad Pro.
Updates


Upcoming
View upcoming items or calendar events for a particular course.

Above, the Upcoming panel on an iPhone X. Below, the Upcoming panel on an iPad Pro.

Grades
The Grades displays the Midterm/Final grades and Grading Periods grades by grading category.

View Grades
You can view graded items by tapping the Grading Period they are located in:
Above, the Course Grades view on an iPhone X. Below, the Course Grades view on an iPad Pro.

Members
Tap Members at the bottom panel to access course members. The Members area allows you to
view all of the members of the course in alphabetical order by last name. To view a member profile,
simply tap the user’s name.
Note: Depending on the settings in place at your school, you may or may not have access to
view the member profiles.
To send a message to a course member:
1. Tap the name of the course member you wish to message, you will be directed to their
profile.
2. Tap the + sign in the upper right.
3. Type the subject of the message.
4. Type the content of the message.
5. Tap the Checkmark icon on the upper right to send your message.


To join an existing Group:
1. Tap Groups from the navigation menu.
2. Tap the + icon on the upper right.
3. Enter the Group Access Code.
4. Tap Join.
Above, the Join Group view on an iPhone X. Below, the Join Group view on an iPad Pro (landscape
view).

The format of the group code should be XXXX-XXXX (8 digits). Once you join a group, you will begin
receiving updates, posts, comments, and event notifications from the group. To manage which
notifications you receive, see Notifications.
Note: Depending on the settings in place at your school, you may or may not have permission
to join Groups via Group Access Codes.
Tap Groups from the navigation menu to see a list of all of the groups for which you are a member.
To access a group, tap the name of your choice.

Above, the Groups view on an iPhone X. Below, the Groups view on an iPad Pro.

The following information is available under a particular group:
● Updates
● Discussions

● Albums
● Members
● Resources
Group Updates
Group updates show the Recent Activity for a particular group. For more information about Updates,
see Recent Activity.
Group Discussions
Group Discussions displays the discussions associated with the group.
Group Albums
Group albums display the media albums associated with the group.
Group Members
Depending on your device, you can access Members by tapping More in the bottom tab bar of the
group profile and tap Members, or tap Members directly from the left menu. The Members area
allows you to view all of the members of the group in alphabetical order by last name. To view a
member profile, simply tap the user’s name.
Note: Depending on the settings in place at your school, you may or may not have access to
view the member profiles.
Group Resources
Depending on your device, you can access Group Resources by tapping More in the bottom tab bar
of the group profile and tap Resources, or tap Resources directly from the left menu. Group
Resources displays the materials and resources associated with the group.
Note: Only the following items are accessible from the mobile app:-
● Files
● Links
● Pages
All other items are listed as templates in Resources and can be accessed via the mobile
browser or web browser.
Back to top

Resources
Tapping Resources on the navigation menu allows you to access your existing Resources and
Collections. For more information, please see our article on Resources.
Note: The only materials that can be loaded in the mobile app are read-only materials:
● Files
● Links
● Pages
All other items (Assignments, Assessments, Discussion, Test/Quiz, etc.) are listed as templates
in Resources and can be accessed via the mobile browser or web browser.

Above, the Resources view on an iPhone X. Below, the Resources view on an iPad Pro.


Grades
The Grades area lists all of the courses for which you are a member. To access the grades for a
course section, tap the section of your choice:
Above, the Grades navigation view on an iPhone X. Below, the Grades view on an iPad Pro.

The following information is available under a particular course section:
● Midterm/Final grades

● Test/Quiz, Assessment, Assignment and Graded Discussion grades organized by grading
period and grading category
Within the Grades for a particular course section, choose Final Grades or the grading period you
would like to view:
Above, the Graded Items by Grading Period and Category view on an iPhone X. Below, the same
view on an iPad Pro.


Tap the left navigation menu to access your Calendar. The Calendar area displays all of the events,
tests/quizzes, assessments, assignments, and discussions that are associated with your Schoology
profile in a day-to-day Upcoming events list as well as a traditional month-by-month calendar view.
Above, the Upcoming tab of the Calendar view (left) and the Calendar tab (right) on an iPhone X.
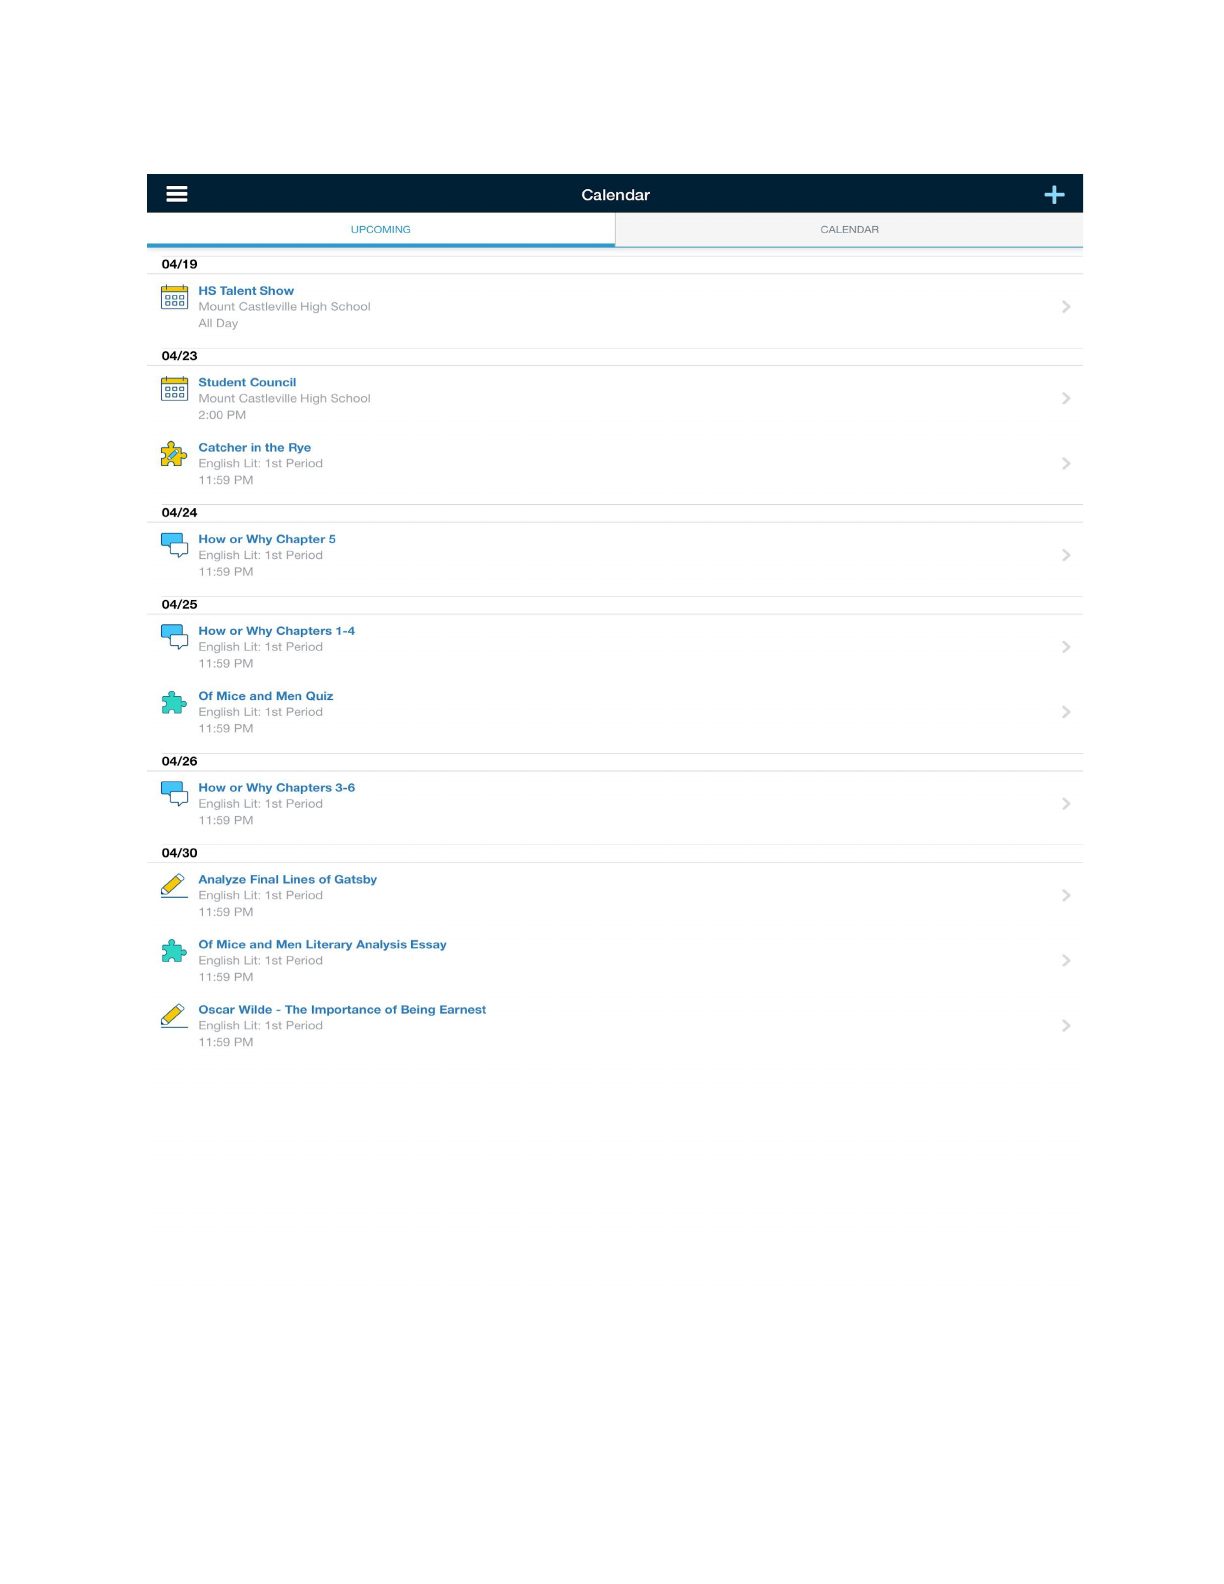
Above, the Upcoming tab of the Calendar view on an iPad Pro. Below, the Calendar tab on an iPad
Pro.

Create a Personal Event
You can add events to your personal calendar through the iOS app from your Schoology Calendar.
To create a personal event:

1. Tap the + icon on the upper right corner of the screen.
2. In the Post to... field, select Personal Event.
3. Select When to add a Start Date and Start Time.
4. Select an optional End Time, or make the event an All Day Event by checking the All Day
box when selecting the Start Date.
5. Add a title to the event.
6. Select an RSVP option. You can set it to Disabled, Only invitees can RSVP, and Anyone can
RSVP.
7. Add an optional description to the event.
8. Add attachments from Library, Take Photo or Video, Resources, Record Audio, and iOS
Apps if you wish.
9. Tap the Checkmark icon in the upper right to finish creating the event.
Back to top
People
Note: Depending on the settings in place at your school, you may or may not have access to
view the school directory.
The People area allows you to view your School Directory. Tap Directory to see a list of all the
members in your School in alphabetical order by last name. To view a member profile, simply tap the
user’s name.

Above, the People view on an iPhone X. Below, the People view on an iPad Pro.

Note: Depending on the settings in place at your school, you may or may not have access to
view the school directory or a network of connected users.

Back to top
Account Settings
The Account Settings area allows you to control your account settings and preferences pertaining to
Account Settings, Notifications, and Privacy Settings.
Account Settings
The Account Settings tab allows you to change and update your personal information as well as
Merge Accounts.
Note: Depending on the settings in place at your school, you may or may not have the
permission to edit your personal information or merge accounts.
Notifications
Schoology sends you e-mail notifications for Social, Academic, Group, and School activity that
occurs in your account. For more information about notifications on the iOS Schoology app, please
see Notifications.
Privacy Settings
The Privacy Settings tab allows you to select who can access and search for your information.
Note: Depending on the settings in place at your school, you may or may not have access to
privacy settings.
Back to top
Logout
The Logout button is located on the navigation menu. You may log out at any time by tapping on the
navigation icon on the upper left corner of the screen. Logout is the last option on the navigation
menu.
Note: You will stay logged in until you manually log out or uninstall the application. If you quit
the app, this will not log you out.
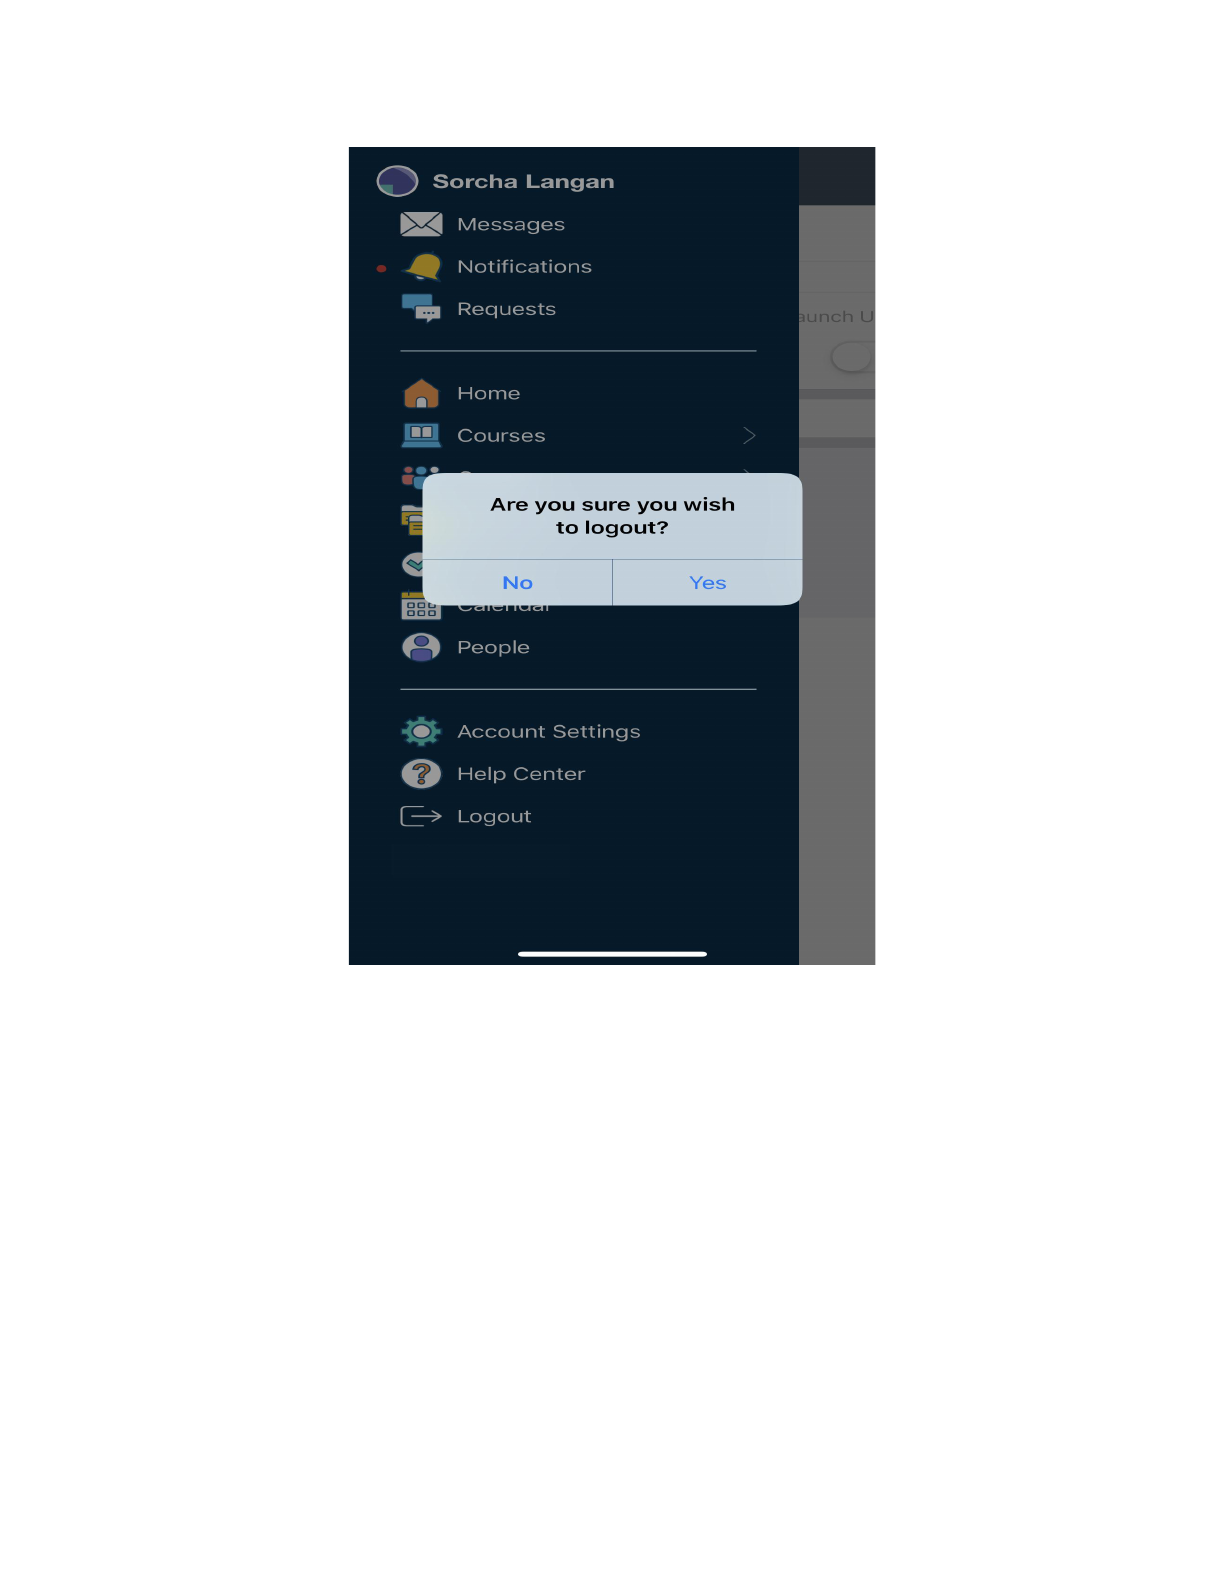
Above, the Logout view on an iPhone X. Below, the Logout view on an iPad Pro.


Use Settings on your device to allow Schoology to access various built-in features such as Photos
and Camera. If you previously denied access to the camera or microphone, you can change the
permissions from this area.
