
How to Accept Your Admission Offer
A Step-by-Step Guide
Step 1: Log in to your Student Center
1. Log in to the SF State Gateway with your SF State ID and password
2. Select the Student Center button from the LaunchPad
Step 2: Accept or Decline Your Offer
1. Once in the Student Center, go to the Admissions section
2. Click the Accept or Decline link
3. Then select either Accept Admission or Decline Admission
Before you begin, please check your browser compatibility and disable any pop-up blockers.
Video walkthrough also available
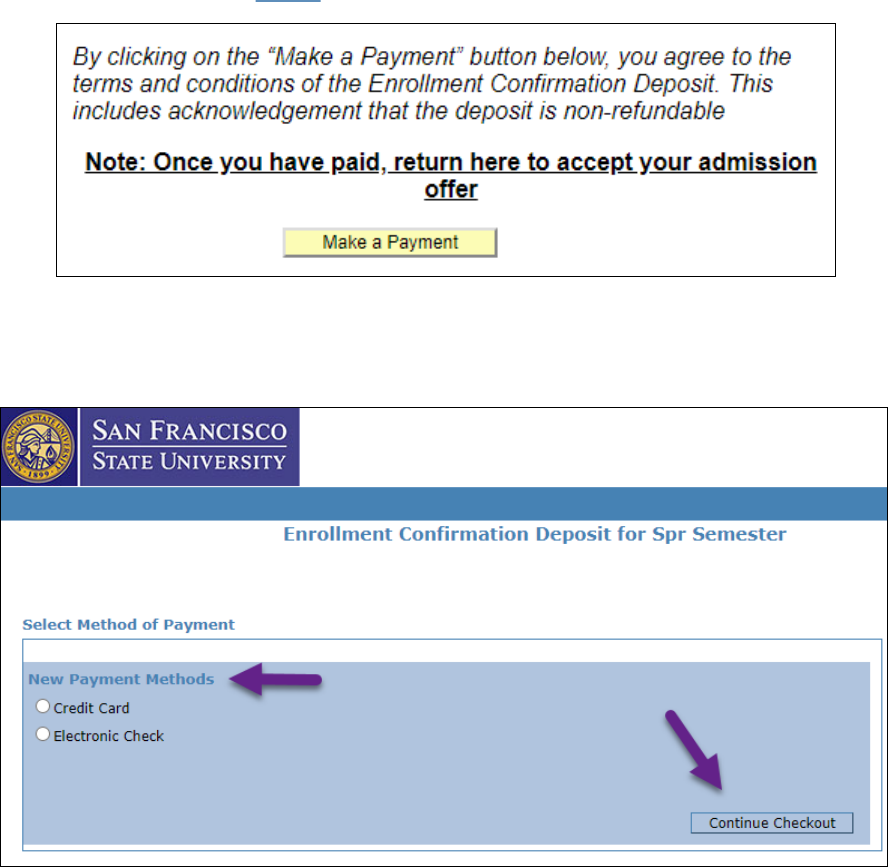
Step 3: Make the Enrollment Confirmation Deposit Payment*
1. Click Make a Payment
2. This will open a new window, so be sure to allow pop-ups!
*If you were granted an automatic waiver of the deposit, you don’t need to pay and will be directed to Step 4.
3. Select the payment option and continue the checkout process

4. Complete the payment process
Step 4: Confirm Acceptance
1. Return to/Continue in the Student Center after making a payment or receiving an automatic waiver
2. Click Confirm Accept
Congratulations! You successfully completed the process to accept your admission offer!
