
HOW TO USE THE FREE ADOBE READER DC TO FILL AND SIGN A PDF DOCUMENT ON A COMPUTER
1. If you do not already have it, download the FREE Adobe Acrobat Reader DC at the
website: get.adobe.com/reader. You do NOT need the Pro version.
2. Click on the “Fill & Sign” icon to choose your document. If you recently opened the
document you want, it may be listed under the “Recent” menu and you can select it there.
(The document blanks can also be filled in using this program.)

3. Select a file from your computer. This assumes you will have downloaded any file sent by
email and saved it on your computer.
4. A menu will appear asking who will be signing. Choose You: “Fill and Sign”.

5. To fill in lines, click where you would like to add text and type. Repeat.
6. Scroll to the area of the document where a signature is needed.

7. Click on the ink pen symbol “Sign” icon. This will result in a menu where you will choose
“Add Signature.” If you have used this program before, it may have a saved signature.
8. Choose the ink pen “Draw” icon. The best way to sign is on a touch screen with a finger or
stylus. You may also sign on a touch pad or using a mouse by holding down the left click on
the touchpad or mouse and moving your finger or mouse to create a signature. This is
challenging. You can use your opposite hand to hold down the left click function and sign
with the other hand
.

9. If your signature turns out poorly, you can try again by clicking on “Clear” on the right. Once
you have a signature that is acceptable, click “Apply.”
10. It will appear on your document. Click and drag the signature to where it should be placed.
DON’T click Next.
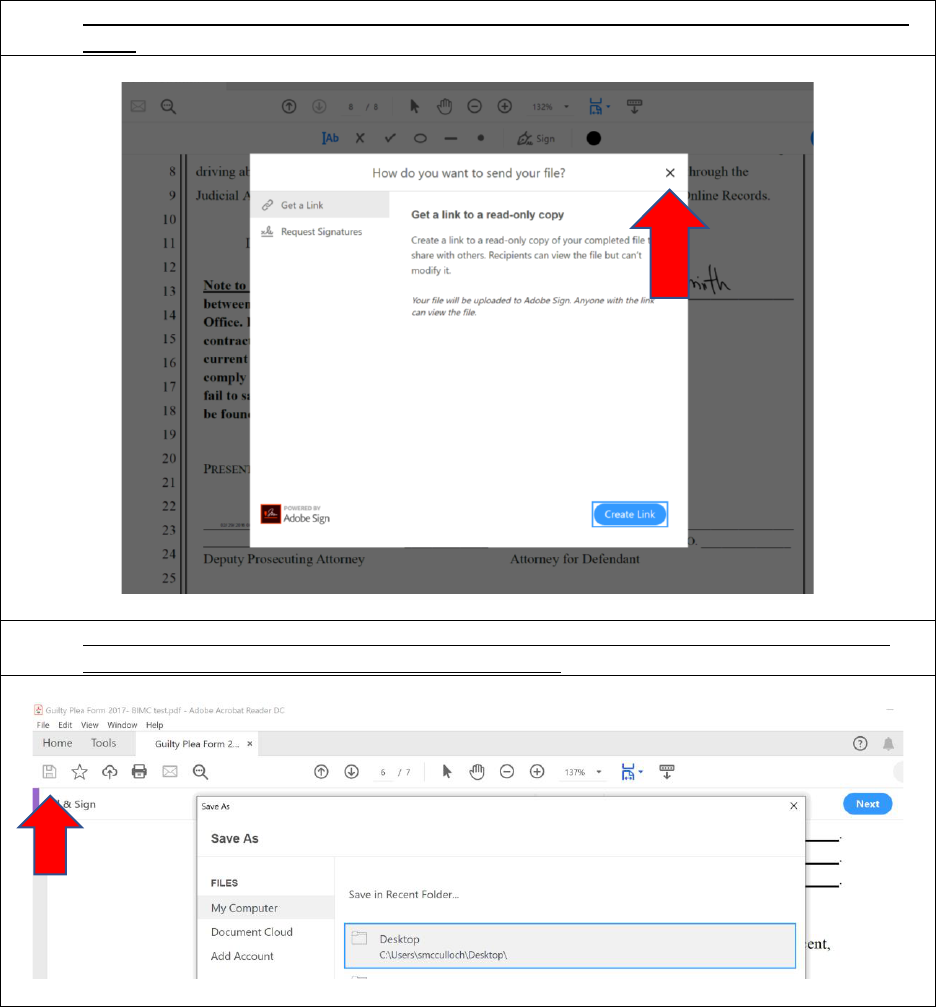
11. If you do accidentally click “Next” it will ask you how you want to send your file. Click X to
close.
12. Click the save icon. Choose save or save as. Save the file on your computer. You can now
send your signed document as an email attachment.
