
Practice CS Custom Formatter
Creating custom invoices and statements:
Under Help | Practice CS Help Topics | Index | Type in Custom Formats
Creating
Customizing
Exporting
Fields
Formulas
Importing
Toolbars
To create custom invoice and statement formats, use the Format Wizard to select information to appear
on your custom statements and invoices. To create a new format, perform the following steps.
1. Open the Custom Formats setup screen by choosing Setup / Custom Formats.
2. Right-click in the Custom Formats list and choose Add Invoice or Add Statement from the context
menu.
Note: You can build a new custom format from an existing format. To do this, right-click on any
custom format in the list and select Copy Format from the context menu. A new custom format is
added to the list with the name “Copy of <Name of the format you copied>.” You can change the
name of the new format by right-clicking it, selecting Edit from the context menu, and then
clicking the Format Wizard button in the toolbar.
3. Use the tabs or Next and Back buttons to navigate through the Format Wizard. When you are
finished making selections on all tabs, click Finish to exit the Format Wizard and proceed to the
Designer screen.
Format Wizard
The Format Wizards for invoices and statements are quite similar, but there are some minor differences.
The following tab descriptions refer specifically to the Invoice Format Wizard, but there are notations
where the process or available options are different for statements.
Note: To delete a custom format, right-click on the format in the list and select Delete from the context
menu. If the format was selected for any saved invoices or statements, you will not be able to delete it.
Main tab
In the Main tab of the Format Wizard, enter a description to identify the custom format you will create. The
description can be up to 50 characters.
Heading Information tab
In the Heading Information tab, select information to print in the header of the invoice or statement. The
information you select in this tab prints only at the top of the first page.

Firm information
In this section, mark checkboxes for firm information you want to add to the header. This data is drawn
from corresponding fields for the home office on the Office setup screen. If you want to add your firm's
logo to the statement or invoice, mark the Logo checkbox, navigate to the logo graphic file, and click
Open. By default, the logo will be added to the left of the firm information in the header and resized to fit a
default size determined by the program. You can change the default placement and sizing later on the
designer screen.
Client information
In this section, mark checkboxes for client information you want to add to the header. This data is drawn
from corresponding fields on the Clients setup screen.
Invoice / Statement information
In this section, mark checkboxes for the information you want included in the header. For statements,
only the Divider Line and Statement Date checkboxes are available. Mark the Lead In Text checkbox to
add the text "For professional service rendered as follows" at the bottom of the header.
Billing Information tab (invoices only)
In the Billing Information tab, select how you would like billing information represented on client invoices.
You can group billing information according to certain criteria, and include specific field details from the
billed entries to provide additional detail on the invoices.
Grouping options
You can specify up to four groupings to summarize time and expense billing information, and for each
grouping you can choose to show hours and/or billed amounts. Available grouping criteria are Client,
Engagement Category, Engagement, Activity Type, Activity Category, Activity Class, Activity,
Staff, Staff Level, and Date. If you are licensed for the Project Management module, you can also group
by Project.
Entry detail fields
You can include specific fields on the invoice if you want to provide your clients with additional details.
Select a field in the Available pane on the left and click the button to move the field to the Selected pane
on the right. Field information will appear below grouped time and billing information on the invoice.
A/R Information tab
The A/R Information tab enables you to include different types of accounts receivable information in the
statement or invoice.
Checkboxes
Mark the A/R Recap checkbox to provide a recap of the client's A/R activity. The following
information will be displayed:
client's open A/R balance as of the beginning of the current period
total of all invoices dated within the current period, including the current invoice amount
total of all receipts from the current period
total of all adjustments from the current period
total of all service charges assessed in the current period

A/R balance
Mark the A/R Ledger checkbox to include more detailed information about the activity related to
the accounts receivable balance.
Mark the A/R Aging checkbox to add a five-period aging section to the invoice or statement.
Mark the Dunning Messages checkbox to include the dunning messages from the Billing and
A/R tab of the Firm setup screen.
Include A/R Information through
This field allows you to select the cutoff date for accounts receivable information. Choices are Invoice
Date, Month End Date, Period End Date, and Last A/R Entry Date. This will be the cutoff date used for
A/R Recap, A/R Ledger, A/R Aging, and Dunning messages.
Pay Stub Information tab
The Pay Stub Info tab enables you to include a pay stub at the bottom of the last page of the invoice or
statement, and to choose the information that is included on the stub.
Mark the Include a pay stub checkbox to add a pay stub to the custom format. Practice CS will
automatically create a dashed divider line and the label "Please return this portion with payment" at the
top of the pay stub.
Pay stub information
In this section, mark the checkbox for each item you want to include on the pay stub. Client information is
drawn from the Clients setup screen, and will include the phone number designated as primary.
If you mark the A/R Terms checkbox, Practice CS will add the text from the A/R Terms field in the Billing
and A/R tab of the Firm setup screen.
In the Statement Format Wizard, the Invoice Number, Invoice Due Date and Reference Number
checkboxes are not available, and the Invoice Date checkbox is replaced by a Statement Date
checkbox.
Designer screen
When you have finished the initial steps of creating a custom invoice or statement format — using the
Format Wizard to select the data that appears on your custom statement or invoice — you can customize
the layout of the invoice or statement format using the designer. You can also use the designer to
customize existing formats.
When you click the Finish button in the Format Wizard, Practice CS closes the wizard and opens the
designer on the Custom Formats setup screen. Alternately, you can right-click any format in the formats
list pane and choose Edit from the context menu.
Note: When the designer screen is open, there is an additional Page Setup command available on the
File menu, where you can adjust page setup, printer settings, styles, and global settings for custom
formats.
Toolbars and menus
The designer screen's toolbars provide various commands for working with the layout and appearance of
your custom format. You can move these toolbars around by clicking and holding the left edge of a

toolbar and dragging it to a new location. If the destination is not part of an existing toolbar, the toolbar will
become a free-floating window.
In addition to the toolbars, the designer provides an additional Format menu, which appears only when
you are using the Custom Formats screen. This menu provides alternate means of access to most of the
commands from the Formatting and Layout toolbars, as well as a command for opening the Format
Wizard.
When available, the Format menu appears between the Actions and Setup menus on the Practice CS
menu bar.
Note: Several of the commands in the Format menu are only available when you have made appropriate
selections within the designer screen.
Toolbox toolbar
The Toolbox toolbar provides commands for selecting items or creating a variety of objects in the
workspace. Click a button name below for information on that button.
Select
Reverts to a "normal" cursor, with which you can select text boxes and other items.
Textbox
Places a new text box within the layout. Click and hold down the left mouse button, drag the mouse
pointer until the text box is the desired size, then release the left mouse button.
RichTextBox
Places a new text box within the layout that supports rich text editing such as varying font colors and
sizes, bullets, manual line breaks, and so on. To enter text into the box, double-click the rich text box, and
then type your text.
Label
Places a new text box within the layout in which you can enter simple text. After you insert the label into
the layout, type the text in the Text field in the Properties pane.
Line
Places a new line within the layout. Click and hold down the left mouse button, drag the mouse pointer
until the line is the desired length, then release the left mouse button.
Shape
Places a new shape within the layout. Click and hold down the left mouse button, drag the mouse pointer
until the shape is the desired size, then release the left mouse button.
Image
Places a new image within the layout. Click and hold down the left mouse button, drag the mouse pointer
until the image box is the desired size, then release the left mouse button. You can select an image to fit
within the image box using the Attributes pane.

Formatting toolbar
The Formatting toolbar provides commands for customizing the look of text, lines, and shapes. Click a
field or button name below for information on that item.
Style
Choose between normal text and three levels of headings for the selected text box.
Font Name
Choose a font for the selected text box.
Font Size
Choose the size of the font for the selected text box.
Bold
Bolds the text in the selected text box.
Italic
Italicizes the text in the selected text box.
Underline
Underlines the text in the selected text box.
Border
Opens the Format Border dialog, where you can choose line style and color for the border around an
object. You can also choose which sides of an object will have a visible border.
Foreground Color
Select the color for the text within the selected object.
Background Color
Select the background color for the selected object.
Line Color
Select the color of lines.
Align Left
Aligns text within the selected text box along the left margin.
Center
Centers text within the selected text box.
Align Right

Aligns text within the selected text box along the right margin.
Justify
Justifies text to align to both left and right margins.
Bullets
Makes the current line of text a bulleted item. Applies only to rich text boxes.
Decrease Indent
Decreases the indentation of the paragraph, moving text to the left. Applies only to rich text boxes.
Increase Indent
Increases the indentation of the paragraph, moving text to the right. Applies only to rich text boxes.
Layout toolbar
The Layout toolbar provides commands for controlling alignment, spacing, and size of objects, as well as
saving and closing a custom format, turning the background grid on or off, and locking the layout. Click a
button name below for information on that button.
Note: To select multiple objects, hold down SHIFT or CTRL while clicking the objects you want to select.
Alternately, with the Select cursor, click and hold the left mouse button while drawing a box around the
objects you want to select.
Add Document
Adds a new invoice or statement format via the Format Wizard.
Close
Closes the current format. Practice CS gives you the option to save or discard changes before saving.
Save
Saves the current custom format.
Preview
Enables you to preview the custom format using an invoice or statement from your firm's data. Opens the
Preview Custom Format dialog, where you can select the invoice or statement to preview.
Format Wizard
Opens the Format Wizard, where you can make changes to the information included in the custom
format.
View Grid
Turns the grid in the designer background on or off.
Lock Controls
Locks the layout so objects cannot be moved.
Align to Grid

Aligns objects to the background grid.
Align Lefts
Aligns multiple selected objects along their left edges.
Align Centers
Aligns multiple selected objects along their horizontal centers.
Align Rights
Aligns multiple selected objects along their right edges.
Align Tops
Aligns multiple selected objects along their tops.
Align Middles
Aligns multiple selected objects along their vertical centers.
Align Bottoms
Aligns multiple selected objects along their bottoms.
Make Same Width
Makes multiple selected objects the same width.
Size to Grid
Sizes the selected object to fit upon gridlines.
Make Same Height
Makes multiple selected objects the same height.
Make Same Size
Makes multiple selected objects the same size (both width and height).
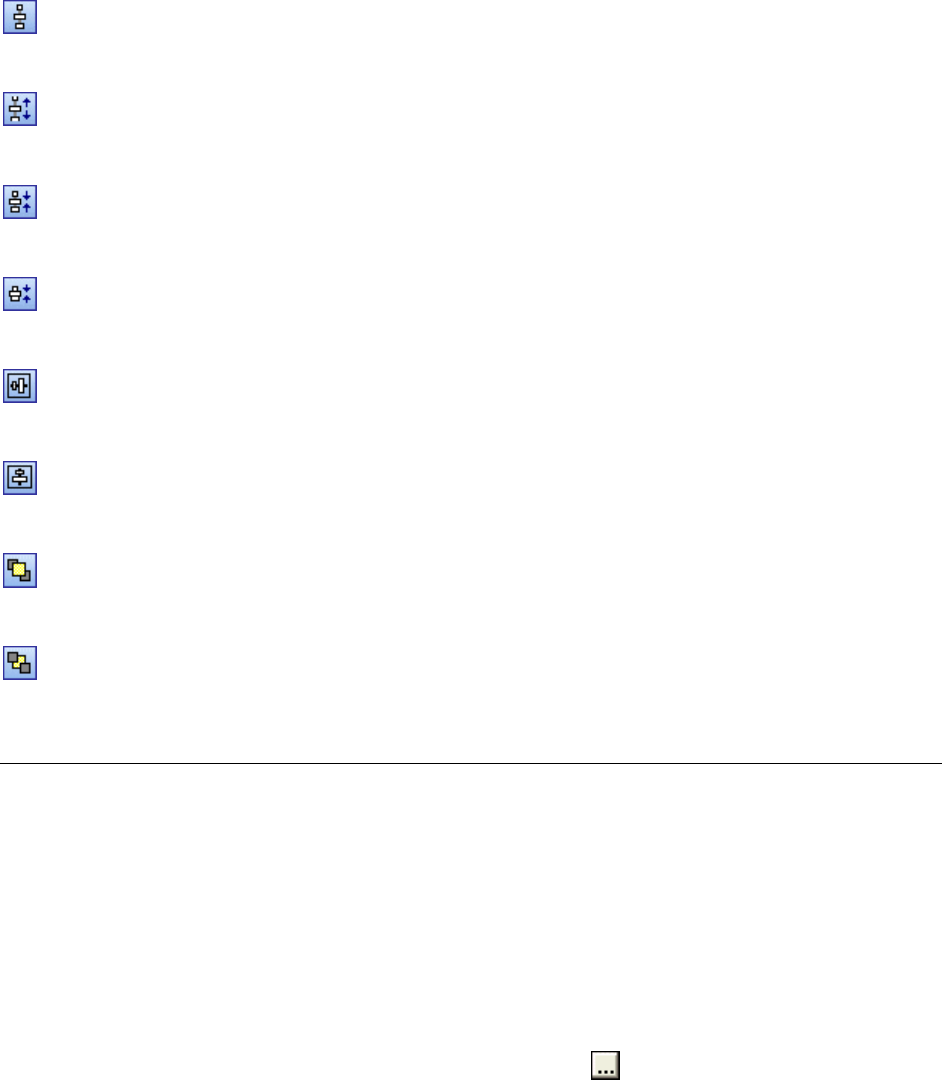
Make Horizontal Spacing Equal
Creates even horizontal spacing between the selected objects.
Increase Horizontal Spacing
Increases the amount of horizontal spacing between the selected objects.
Decrease Horizontal Spacing
Decreases the amount of horizontal spacing between the selected objects.
Remove Horizontal Spacing
Removes the horizontal spacing between the selected objects.
Make Vertical Spacing Equal
Creates even vertical spacing between the selected objects.
Increase Vertical Spacing
Increases the amount of vertical spacing between the selected objects.
Decrease Vertical Spacing
Decreases the amount of vertical spacing between the selected objects.
Remove Vertical Spacing
Removes the vertical spacing between the selected objects.
Center Horizontally
Centers the selected object horizontally within the current layout.
Center Vertically
Centers the selected object vertically within the current layout.
Bring to Front
Places the selected object on top of all other objects.
Send to Back
Places the selected object behind all other objects.
The Attributes pane
On the right side of the designer screen is the Attributes pane, which displays properties for the currently
selected item within the layout. When you have not selected an object within the designer, this pane
displays basic attributes for the section of the format that has focus, such as background color.
When you select an object within the designer, the Attributes pane displays data for that object.
Changing attributes
Within the Attributes pane, you can make detailed changes to objects in the designer. For example, rather
than dragging an object around the layout, you can select it on the layout and specify its exact placement
by changing the values for the Location attribute.
To change the appearance of fonts, select a text box and click the button next to the Font attribute to
open the Font dialog, where you can choose properties such as font name, font style, font size, and
strikeout or underline effects.
Note: Font attributes affect all text within the selected text box.
To change the alignment of text within a text box, click the drop-down arrow to the right of the Alignment
attribute to select a different value, such as Center, Right, or Justify.

Selecting images
Another function of the attributes pane is to select images for new image objects you add to the custom
format. After adding the box that will contain the image, click the button to open the Open dialog,
where you can navigate to the folder containing the image file and select the desired image.
