
Installaon Guide I Bathroom Sinks
.
I n s t a l l a t i o n
I n s t r u c t i o n s
M o d e l │
B a t h r o o m S i n k s
Dimensions Metric
1 inch = 2.54 cm
1 inch = 25.4 mm
1051 Lea Drive - Collegeville, PA 19426
Tel. 215 513 9400 - Fax 610 831 0215
www.wsbathcollections.com - info@wsbathcollections.com
Index
Bathroom Sink Type Page
Wall Mount Bathroom Sinks 1-3
Vessel & Countertop Bathroom Sinks 4-5
Undermount Bathroom Sinks 6-7
Pedestal Bathroom Sinks 8-9
Note:
Installaon guides show general instrucons and may not depict your exact model in the gures and graphics.
WS Bath Collecons accepts no liability for any damage to the property; oor, walls, pluming, sink, or personal
injury during installaon.
If you have any quesons or need any addional help please do not hesitate to contact us.

Wall-mount Sinks Installaon Instrucons
.
I n s t a l l a t i o n
I n s t r u c t i o n s
M o d e l │
W a l l - m o u n t S i n k s
Dimensions Metric
1 inch = 2.54 cm
1 inch = 25.4 mm
1051 Lea Drive - Collegeville, PA 19426
Tel. 215 513 9400 - Fax 610 831 0215
www.wsbathcollections.com - info@wsbathcollections.com
Page 1/9
Before You Start Installaon
We recommend that you consult with a profession-
al if you are unfamiliar with installing this type of
product. WS Bath Collecons accepts no liability for
any damage to the property; oor, walls, pluming,
sink, or personal injury during installaon.
Follow up all local plumbing and building codes.
Geng Started
Insure that you have all the requires materials and
tools for the installaon.
Install sucient backing behind the nished wall to
provide adequate support to secure the mounng
hardware (refer to diagram aached). If the studs
do not align with the sink, proper wood blocking
must be installed between the studs where the sink
will mount.
Make sure that in-wall plumbing has already been
prepared.
Unpack the new sink and inspect it for damage prior
to installaon.
Installaon
1. Hold the sink up at the desired installaon loca-
on. Ensure that the sink is level, then mark the
locaon of the mounng holes on the back of
the sink.
2. Drill pilot holes at the marked locaons of the
sink’s mounng holes.
3. Insert the anchors into the drilled holes, screw
in the mounng hanger bolts.
4. Move the sink back into posion at the installa-
on locaon.
5. Secure sink with washers and nuts. Be careful
not to over ghten the bolts to avoid sink chips
and cracks.
6. Proceed to installaon of the drain, trap, water
supply lines, and the sink faucet.
7. Complete the installaon by applying a thin
bead of silicone around the back of the sink
where it meets the wall.
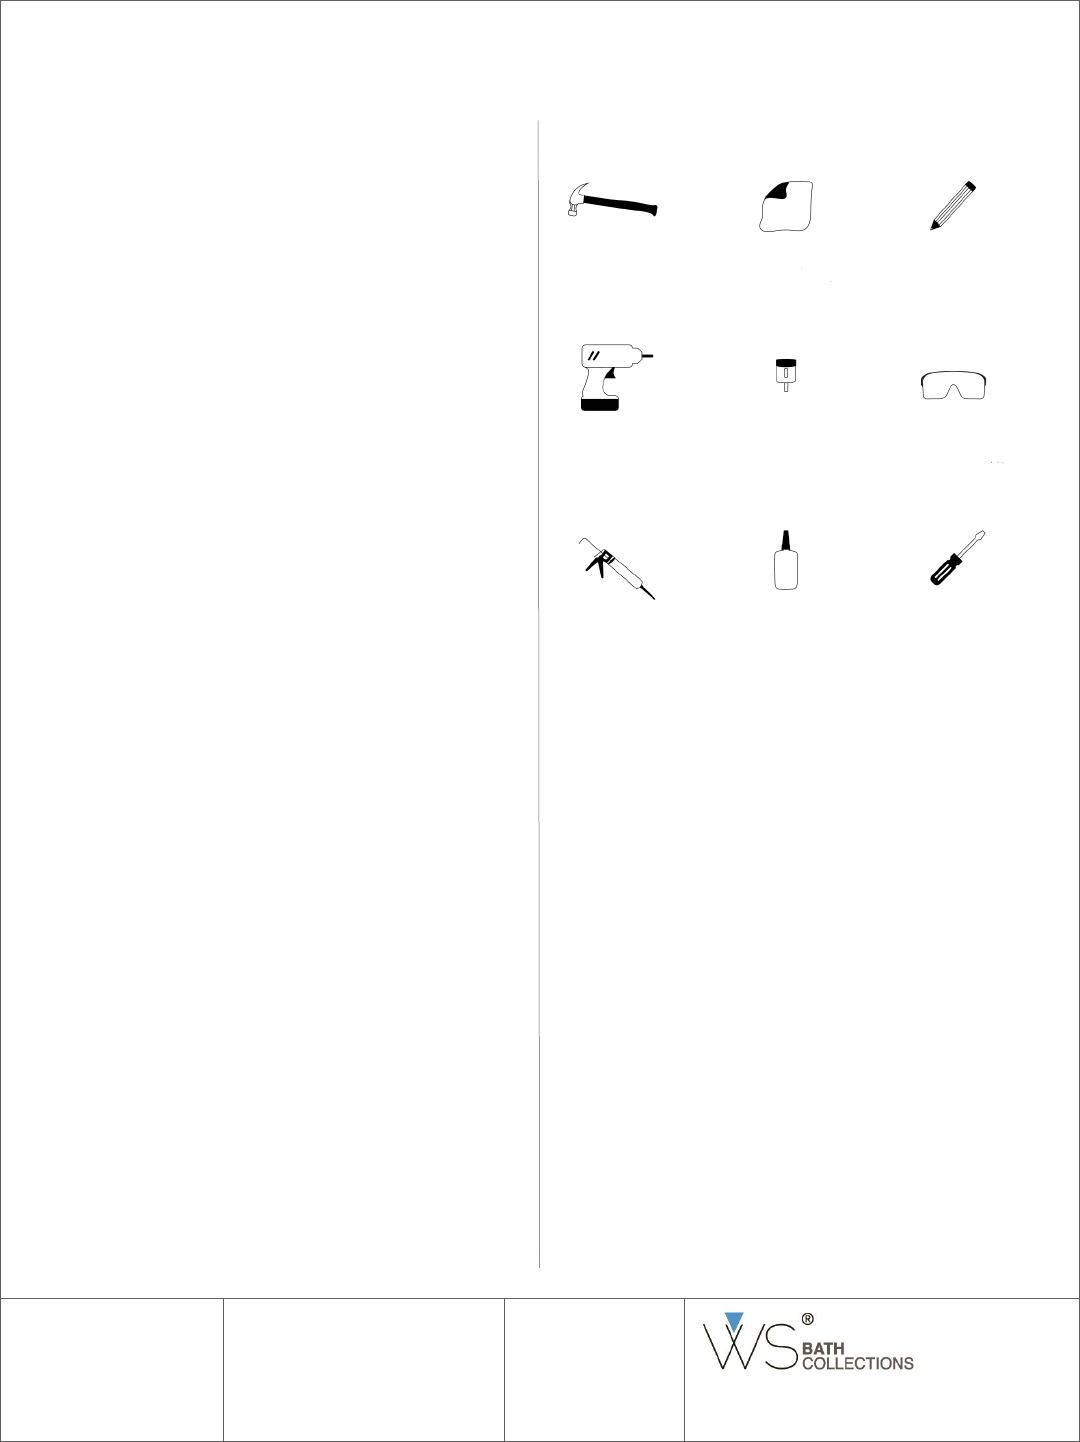
Tools You May Need
Measuring Tape Level Pencil
Stud Finder Drill Silicone Sealant
100%
Bolt Drywall Anchor Wrench
Note
WS Bath Collecons reserves the right to make revisions in the design of prod-
ucts without noce.

Wall-mount Sinks Installaon Instrucons
I n s t a l l a t i o n
I n s t r u c t i o n s
M o d e l │
W a l l - m o u n t S i n k s
Dimensions Metric
1 inch = 2.54 cm
1 inch = 25.4 mm
1051 Lea Drive - Collegeville, PA 19426
Tel. 215 513 9400 - Fax 610 831 0215
www.wsbathcollections.com - info@wsbathcollections.com
Page 2/9
3. Insert the anchors into the drilled holes,
screw the mounng hanger bolts.
4. Move the sink back into posion at the
installaon locaon.
5. Secure sink with washers and nuts. Be
careful not to over ghten the bolts to
avoid sink chips and cracks.
6. Proceed to installaon of the drain, trap,
water supply lines, and the sink faucet.
7. Complete the installaon by applying a
thin bead of silicone around the back of
the sink where it meets the wall.
1. Hold the sink up at the desired installaon
locaon. Ensure that the sink is level, then
mark the locaon of the mounng holes
on the back of the sink.
2. Drill pilot holes at the marked locaons of
the sink’s mounng holes.
Installaon Instrucons & Diagrams

Wall-mount Sinks Installaon Instrucons
.
I n s t a l l a t i o n
I n s t r u c t i o n s
M o d e l │
W a l l - m o u n t S i n k s
Dimensions Metric
1 inch = 2.54 cm
1 inch = 25.4 mm
1051 Lea Drive - Collegeville, PA 19426
Tel. 215 513 9400 - Fax 610 831 0215
www.wsbathcollections.com - info@wsbathcollections.com
Page 3/9
Washer
Connect trap assembly
For deck-mount faucets:
Mount faucet and water supply lines
Bushing
Connect drain
Nut
Hanger bolt
Studs
(2) 2”x 6” or larger needed for support of
wall-mount sinks
Proceed to installaon of the drain,
trap, water supply lines, and the sink
faucet.
Complete the installaon by apply-
ing a thin bead of silicone around
the back of the sink where it meets
the wall.

Vessel & Countertop Sinks Installaon Instrucons
.
I n s t a l l a t i o n
I n s t r u c t i o n s
M o d e l │
V e s s e l & C o u n t e r t o p
S i n k s
Dimensions Metric
1 inch = 2.54 cm
1 inch = 25.4 mm
1051 Lea Drive - Collegeville, PA 19426
Tel. 215 513 9400 - Fax 610 831 0215
www.wsbathcollections.com - info@wsbathcollections.com
Page 4/9
Before You Start Installaon
We recommend that you consult with a professional if
you are unfamiliar with installing this type of product.
WS Bath Collecons accepts no liability for any damage
to the property; oor, walls, pluming, sink, or personal
injury during installaon.
Follow up all local plumbing and building codes.
Geng Started
Insure that you have all the requires materials and tools
for the installaon.
Make sure that in-wall plumbing has already been pre-
pared.
Unpack the new sink and inspect it for damage prior to
installaon.
WS Bath Collecons reserves the right to make revi-
sions in the design of products without noce.
Installaon
1. Posion the sink on the countertop at the installa-
on locaon.
2. Trace the sink drain hole onto the countertop.
3. Remove the sink and set aside.
4. Drill a 2.2” (55 mm) hole at the marked locaon.
Hole can be larger depending on the drain hole
size of the specic sink or a cutout may be needed
depending on specic conguraon of the sink at
its boom.
5. Move the sink back into posion at the countertop
installaon locaon.
6. Align the sink and drain body assembly with the
drain hole in the countertop.
7. Lower the drain body through the countertop
drain hole unl the sink rests on the countertop.
8. Secure sink with drain, washers, and nuts. Be care-
ful not to over ghten to avoid sinks chips and
cracks.
9. Proceed to complete installaon of the drain, trap,
water supply lines, and the sink faucet.
10. Complete the installaon by applying a thin bead
of silicone around the sink where it meets the
countertop.
Tools You May Need
Damp Cloth Pencil Silicone Sealant
100%
Jigsaw Drill
Note
WS Bath Collecons reserves the right to make revisions in the design of prod-
ucts without noce.

Vessel & Countertop Sinks Installaon Instrucons
.
I n s t a l l a t i o n
I n s t r u c t i o n s
M o d e l │
V e s s e l & C o u n t e r t o p
S i n k s
Dimensions Metric
1 inch = 2.54 cm
1 inch = 25.4 mm
1051 Lea Drive - Collegeville, PA 19426
Tel. 215 513 9400 - Fax 610 831 0215
www.wsbathcollections.com - info@wsbathcollections.com
Page 5/9
4. Drill a 2.2” (55 mm) hole at the marked locaon. Hole can be larger than
2.2” depending on the drain hole size of the specic sink.
Note:
A larger hole may be needed depending on the drain hole size of the specic sink or
A cut out may be needed instead of hole depending on the specic conguraon of the sink at its
boom.
1. Posion the sink on the countertop at the installaon locaon.
Note:
Sink shown in round shape for illustraon purpose only. Sink can be of any shape i.e. round, rec-
tangular, among others.
5. Move the sink back into posion at the countertop installaon locaon.
6. Secure sink with washer and nuts. Be careful not to over ghten the bolts
to avoid sink chips and cracks.
7. Proceed to installaon of the drain, trap, water supply lines, and the sink
faucet.
8. Complete the installaon by applying a thin bead of silicone around the
sink where it meets the countertop.
Note:
Mounng ring can be used with glass sinks as a decorave piece (oponal).
2. Trace the sink drain hole onto the countertop.
3. Remove the sink and set aside.
Installaon Instrucon & Diagrams
Mounng Ring for
Glass Sinks oponal)
Connect Drain
Assembly
Connect Trap
1
2
3
4
Undermount Sinks Installaon Instrucons
.
I n s t a l l a t i o n
I n s t r u c t i o n s
M o d e l │
U n d e r m o u n t S i n k s
Dimensions Metric
1 inch = 2.54 cm
1 inch = 25.4 mm
1051 Lea Drive - Collegeville, PA 19426
Tel. 215 513 9400 - Fax 610 831 0215
www.wsbathcollections.com - info@wsbathcollections.com
Page 6/9
Before You Start Installaon
We recommend that you consult with a profession-
al if you are unfamiliar with installing this type of
product. WS Bath Collecons accepts no liability for
any damage to the property; oor, walls, pluming,
sink, or personal injury during installaon.
Follow up all local plumbing and building codes.
Geng Started
Insure that you have all the requires materials and
tools for the installaon.
Make sure that in-wall plumbing has already been
prepared.
Unpack the new sink and inspect it for damage prior
to installaon.
WS Bath Collecons reserves the right to make revi-
sions in the design of products without noce.
Installaon
1. Verify countertop or cabinet clearance.
2. Trace the template on the countertop. Cut out
the opening along the inside edge of the line.
3. Clean the underside of the countertop and the
rim of the sink.
4. Loosely install the clips.
5. Generously apply 100% silicone around the rim.
6. Hold the sink in place and rotate each clip over
the rim. Evenly ghten the clips to secure.
7. Immediately wipe away any excess sealant.
8. Proceed to installaon of the drain, trap, water
supply lines, and the sink faucet.
Tools You May Need
Damp Cloth Pencil Hammer
Damp Cloth Safety Googles Drill
Epoxy Pencil Silicone Sealant
100%
Note
WS Bath Collecons reserves the right to make revisions in the
design of products without noce.

.
I n s t a l l a t i o n
I n s t r u c t i o n s
M o d e l │
U n d e r m o u n t S i n k s
Dimensions Metric
1 inch = 2.54 cm
1 inch = 25.4 mm
1051 Lea Drive - Collegeville, PA 19426
Tel. 215 513 9400 - Fax 610 831 0215
www.wsbathcollections.com - info@wsbathcollections.com
Undermount Sinks Installaon Instrucons
Page 7/9
5. Generously apply 100% silicone around the
rim.
6. Hold the sink in place and rotate each clip
over the rim. Evenly ghten the clips to
secure.
1. Verify countertop or cabinet clearance
2. Trace the template on the countertop. Cut
out the opening along the inside edge of
the line.
Installaon Instrucons & Diagrams
3. Clean the underside of the countertop and
the rim of the sink.
4. Loosely install the clips.
7. Immediately wipe away any excess sealant.
8. Proceed to installaon of the drain, trap,
water supply lines, and the sink faucet.
1
2
6
5
4
3
8
7

Pedestal Sinks Installaon Instrucons
.
I n s t a l l a t i o n
I n s t r u c t i o n s
M o d e l │
P e d e s t a l S i n k s
Dimensions Metric
1 inch = 2.54 cm
1 inch = 25.4 mm
1051 Lea Drive - Collegeville, PA 19426
Tel. 215 513 9400 - Fax 610 831 0215
www.wsbathcollections.com - info@wsbathcollections.com
Page 8/9
Before You Start Installaon
We recommend that you consult with a profession-
al if you are unfamiliar with installing this type of
product. WS Bath Collecons accepts no liability for
any damage to the property; oor, walls, pluming,
sink, or personal injury during installaon.
Follow up all local plumbing and building codes.
Geng Started
Insure that you have all the requires materials and
tools for the installaon.
Install sucient backing behind the nished wall to
provide adequate support to secure the mounng
hardware (refer to diagram aached). If the studs
do not align with the sink, proper wood blocking
must be installed between the studs where the sink
will mount.
Make sure that in-wall plumbing has already been
prepared.
Unpack the new sink and inspect it for damage prior
to installaon.
Installaon
1. Hold the sink up and pedestal at the desired
installaon locaon. Ensure that the sink is lev-
el, then mark the locaon of the mounng
holes on the back of the sink.
2. Drill pilot holes at the marked locaons of the
sink’s mounng holes.
3. Insert the anchors into the drilled holes, screw
in the mounng hanger bolts.
4. Move the sink and pedestal back into posion
at the installaon locaon.
5. Secure sink with washers and nuts. Be careful
not to over ghten the bolts to avoid sink chips
and cracks.
6. Proceed to installaon of the drain, trap, water
supply lines, and the sink faucet.
7. Complete the installaon by applying a thin
bead of silicone around the back of the sink
where it meets the wall.
Tools You May Need
Measuring Tape Level Pencil
Stud Finder Drill Silicone Sealant
100%
Bolt Drywall Anchor Wrench
Note
WS Bath Collecons reserves the right to make revisions in the design of prod-
ucts without noce.

Pedestal Sinks Installaon Instrucons
I n s t a l l a t i o n
I n s t r u c t i o n s
M o d e l │
P e d e s t a l S i n k s
Dimensions Metric
1 inch = 2.54 cm
1 inch = 25.4 mm
1051 Lea Drive - Collegeville, PA 19426
Tel. 215 513 9400 - Fax 610 831 0215
www.wsbathcollections.com - info@wsbathcollections.com
Page 9/9
1. Hold the sink up and the pedestal at the
desired installaon locaon. Ensure that the
sink is level, then mark the locaon of the
mounng holes on the back of the sink.
2. Drill pilot holes at the marked locaons of
the sink’s mounng holes.
Installaon Instrucons & Diagrams
3. Insert the anchors into the drilled holes,
screw the mounng hanger bolts.
4. Move the sink back into posion at the in-
stallaon locaon. Lightly secure the sink
with washers and nuts.
5. Proceed to installaon of the drain, trap,
water supply lines, and the sink faucet.
6. Move the pedestal back into posion. Li
the sink up and secure the pedestal under-
neath the sink.
7. Secure sink with washers and nuts. Be care-
ful not to over ghten the bolts to avoid
sink chips and cracks.
8. Complete the installaon by applying a thin
bead of silicone around the back of the sink
where it meets the wall.
6
4
1
5
7
2
3
8
